| YouTube Videos |
| FILTERS: |
| ALL |
| Dual Boot MultiBoot |
| Android |
| Android-x86 |
| Backup Cloning |
| Chromecast |
| Linux |
| Messaging IM SMS |
| Misc. Soc Media |
| Music Jazz MPB |
| Remote Controls |
| Screen Recording |
| Smart-TV IPTV |
| USB Flash Drives |
| Windows |
 |
Krister's Blog krister at hallergard dot com | Last Updated: 2014-01-16 |
I bought my desktop PC in 2010 and it uses BIOS-MBR (which is now being replaced by UEFI-GPT). I have installed the Ranish Partition Manager replacing the IPL(Initial Program Loader) of the MBR (Master Boot Record), and it can set the boot flag to any of the primary partitions (makes the partition active). To each partition I have installed its own partition MBR (PBR), so that it can be independently booted via its own bootloader menu.
 View Video 4½ min
|
From 2010 on most distros install the Grub2 bootloader. My PC using BIOS-MBR does not necessarily require the sofistictation of Grub2, which is needed for UEFI-GPT devices.
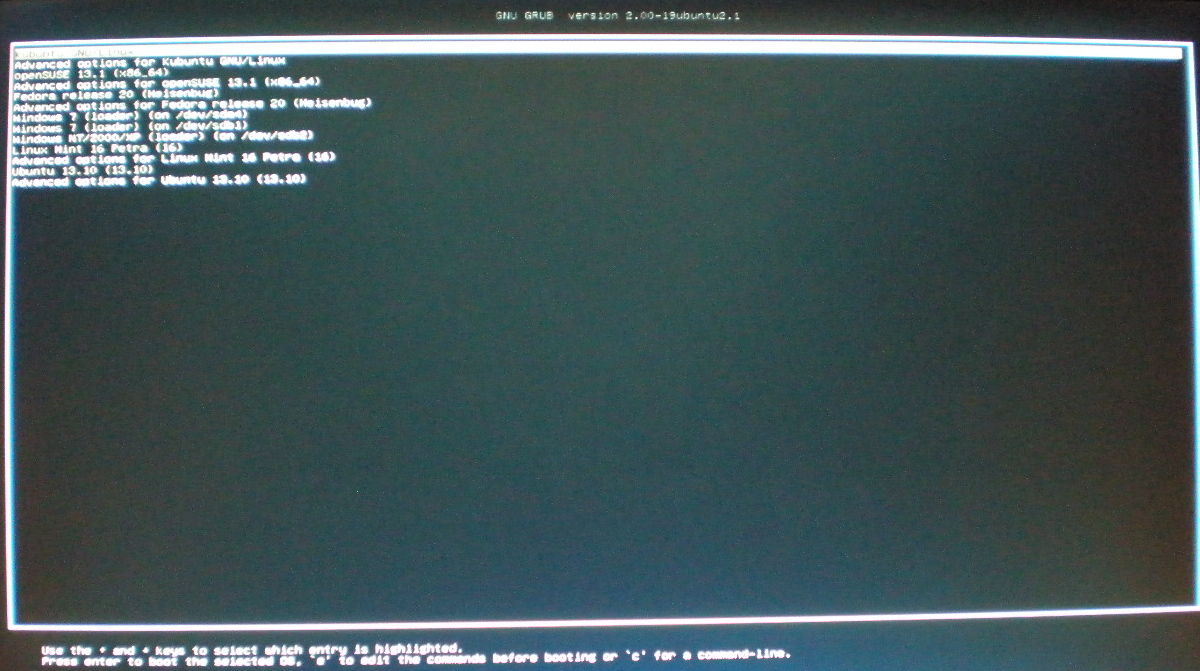
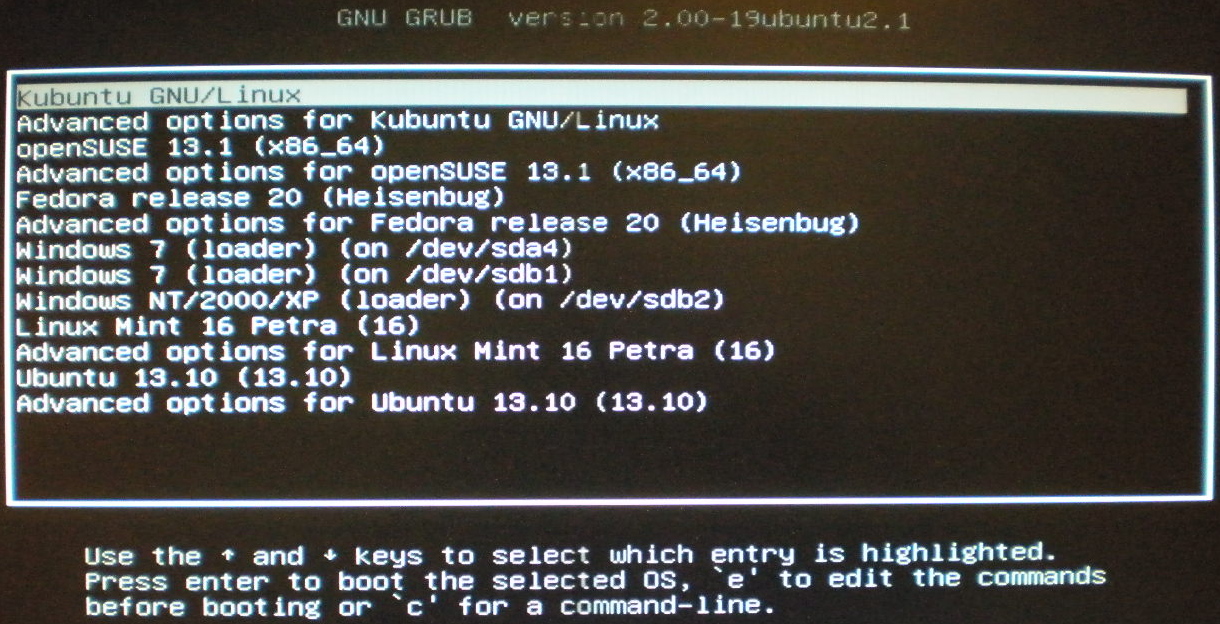
Here is Linux Kubuntu's boot menu on partition sda3 at its very first boot: Not very pretty and the text is too small to read, at least for me. The first thing upon the first boot is to fix that. I usually take a backup copy of the initial configuration file /boot/grub2/grub.cfg (or /boot/grub/grub.cfg depending on distro). |
 Bootmenu Linux Kubuntu on sda3 at its very first boot |
Here is the bootmenu at the next boot after having applied edits:
If you like most people are happy with having only one boot menu on the very first partition, you can stop reading here! When the bootmenu of a partition has been changed, I will have to update all the other boot menus for one or several of these reasons:
|
 Bootmenu on sda3 after GFXMODE edit. Click here to see with new background! |
| Below are my own, very personal edits to avoid these constant
updates of all the other bootmanagers, especially after every kernel update. Also I
prefer to have the menu in partition order, and I also like to have some pretty colours. Open a rooted file manager and navigate to folder /etc/grub.d/
Also the order the partitions appear on the menu has now changed. If a partition has been formatted, e.g. for a fresh installation, I usually restore the previous UUID, so that I don't have to update grub2 on all the other partitions for that reason. |
Here are some more optional changes: the bootmenu is now in partition order, so
it might be a good idea to review which partition should be the default. And change the text colours:
to make the menu clearer and prettier:
|
